If you’ve been brewing with a propane burner and a kettle on a patio — or you’re brand-new to the hobby trying to decode what all this electric brewing talk means — here’s the short version: an all-in-one electric brewing system (sometimes called an AIO or electric brewing system, abbreviated EBS) is a single vessel that handles mashing (soaking cracked grain in hot water to convert starches into fermentable sugars) and boiling your wort (unfermented beer) in one unit, powered by electricity rather than a gas flame. Instead of juggling multiple pots, a propane tank, and a hose on your driveway, you plug in one machine, set a temperature on a digital controller, and the system does the heating for you. The appeal is obvious — precision, repeatability, and the ability to brew indoors. What’s less obvious, until you’re standing in front of a product page, is that the most consequential spec on that page isn’t the price or the brand. It’s the wattage — and whether the system runs on standard household 110V (the plug on your kitchen appliance) or 220V (the outlet behind your dryer). That distinction shapes your brew day more than almost anything else, and this guide will show you exactly why.
| EDITOR'S PICK[Clawhammer Supply 10.5 Gallon E…](https://www.amazon.com/dp/B07GV3C4FG?tag=greenflower20-20) | Mid-tierBrewer’s Edge Mash and Boil wit… | Budget pick[KegLand DigiBoil Electric Kettl…](https://www.amazon.com/dp/B0CBD75SD6?tag=greenflower20-20) | |
|---|---|---|---|
| Voltage | 120V | — | 110V |
| Wattage | — | — | 1500W |
| Capacity | 10.5 gal | 7.5 gal | 9.25 gal |
| Material | 304 Stainless Steel | — | Stainless Steel |
| Pump Included | — | ✓ | — |
| Price | $1,499.00 | $439.99 | $241.99 |
| See on Amazon → | See on Amazon → | See on Amazon → |
Why Wattage Is the Number That Actually Runs Your Brew Day
Wattage measures how much electrical power a heating element draws at any given moment. In brewing terms, more watts equals faster heating — faster time-to-boil, faster recovery after you drop cold grain into hot water during a mash, and more vigorous rolling boils that help drive off unwanted flavor compounds. The relationship is direct: a 1,500-watt element heats your wort roughly twice as fast as a 750-watt element, all else being equal.
Here’s where this gets practical. Most standard North American household circuits run at 110V (technically 120V, but the industry rounds to 110V) and are protected by a 15-amp or 20-amp breaker. The maximum continuous load you can safely pull from a 15-amp circuit is about 1,440 watts (15 amps × 120 volts × 80% NEC safety factor); from a 20-amp circuit, that ceiling rises to roughly 1,920 watts. That’s a firm ceiling. You cannot plug a 3,500-watt brewing system into a 15-amp kitchen outlet and expect anything but a tripped breaker — or worse.
220V circuits (technically 240V in modern wiring, again rounded colloquially) are what your electric dryer, oven, or range runs on. Because voltage doubles, you can move dramatically more power through the same wire gauge. A 30-amp 220V circuit can deliver up to 5,760 watts of continuous power. This is why the most capable all-in-one brewing systems require a 220V circuit. The physics simply won’t fit any other way.
As documented in “Homebrew Science: Understanding Electrical Load for Brewing” (Brew Your Own magazine, March 2024), undersizing your circuit is the single most common — and most avoidable — infrastructure mistake new electric brewers make. The article walks through the NEC 80% continuous-load rule in detail and is worth reading before you commit to any system.
Circuit capacity vs. system demand:
| Circuit Type | Max Continuous Wattage (NEC 80% rule) | Typical System Fits | Tier |
|---|---|---|---|
| 110V / 15A | ~1,440 W | Entry-level AIO, small batch | KegLand 110V — $241.99 |
| 110V / 20A | ~1,920 W | Mid-tier 110V systems | Brewer’s — $439.99 |
| 220V / 30A | ~5,760 W | Grainfather G40, Anvil 10.5, Spike Solo | Clawhammer — $1,499.00 |
| 220V / 50A | ~9,600 W | Semi-commercial / pilot systems | Clawhammer — $1,499.00 |
The 110V vs. 220V Decision: Tradeoffs That Actually Matter
This is the fork in the road, and the honest answer is that neither voltage is universally better. They serve different brewers in different situations. The sections below work through three tiers using published manufacturer specifications and named editorial sources.
Entry-Tier: 110V Systems for Apartments and Small Batches
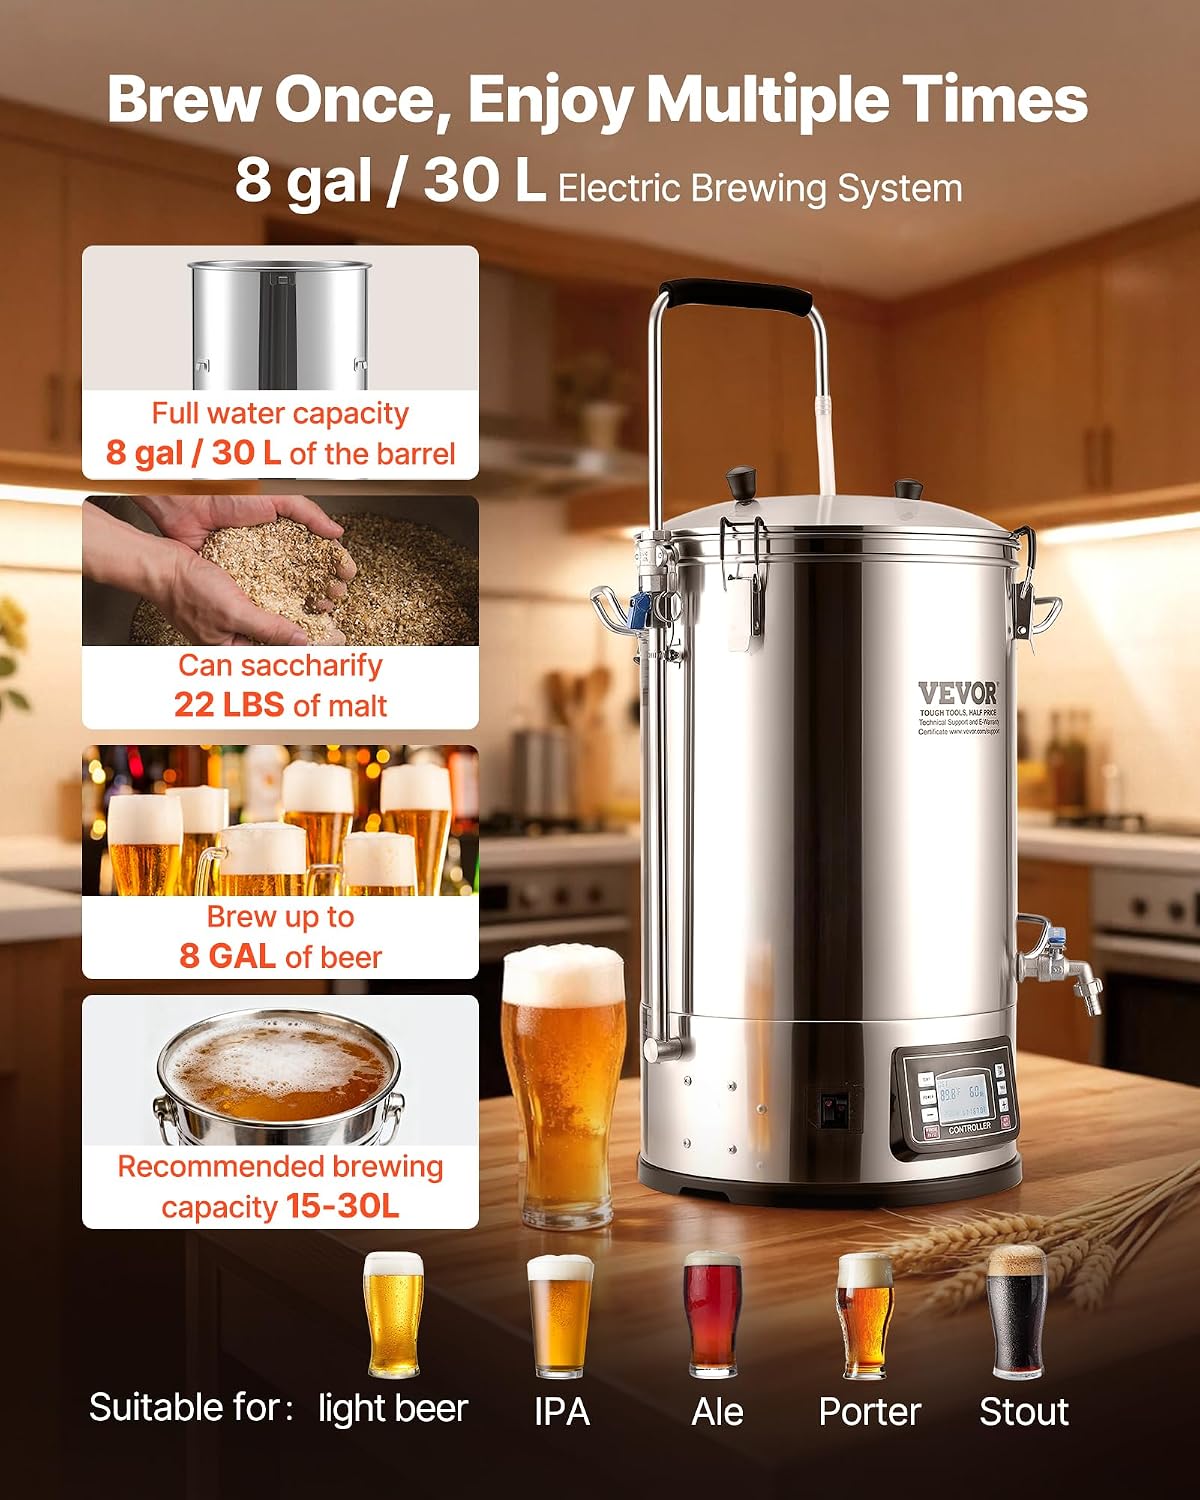
A 110V system asks almost nothing of your space. You plug it in wherever you’d plug in a slow cooker. The KegLand BrewZilla Gen 4 (35L version) is spec’d at 2,200 watts on 220V but also ships with a 110V mode that throttles the element down to around 1,100 watts, according to KegLand’s published product specifications for the BrewZilla Gen 4. Owners of the 110V configuration consistently report that this works — you can brew perfectly good beer — but time-to-boil on a 10-gallon batch stretches well past an hour, and achieving a vigorous boil on anything above 6–7 gallons can be a struggle depending on ambient temperature.
The American Homebrewers Association’s 2025 Equipment Guide notes that a rolling boil — not just surface bubbling, but active convection throughout the liquid — matters for driving off dimethyl sulfide (DMS), a compound that produces a cooked-corn flavor in finished beer. On a 110V system at reduced wattage, maintaining that vigorous boil at larger volumes is the primary limitation.
If you’re doing 2.5 to 5-gallon batches in a kitchen or apartment where running a 220V line isn’t an option, a quality 110V system is a genuine solution, not a compromise. The math just has to fit the batch size.
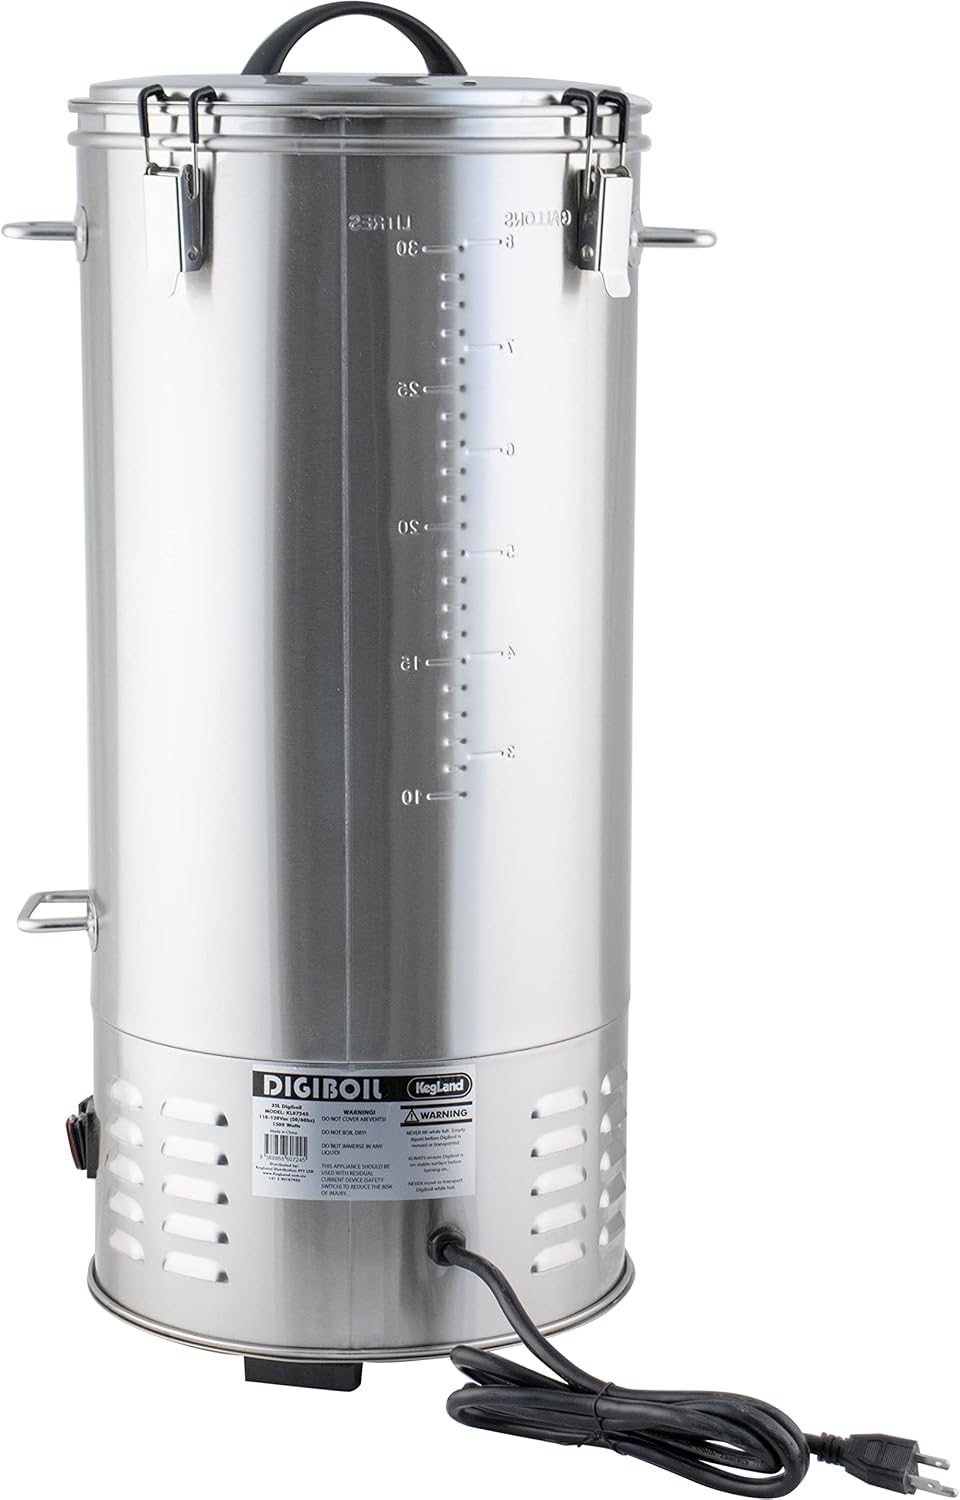
KegLand 110V
$241.99
In stock on Amazon
Check price on AmazonMid-Tier: The Anvil Foundry 6.5 Gallon on a Dedicated 20A Circuit
For brewers who want all-grain capability without rewiring, the Anvil Foundry 6.5 gallon occupies a well-documented middle ground. Per Anvil’s published product specifications, the 6.5-gallon Foundry is rated at 1,650 watts and is designed to run on a dedicated 20-amp 120V circuit — meaning it fits within a standard household breaker without modification, as long as that circuit is dedicated (not shared with a refrigerator, microwave, or other large draw).
At 5-gallon batch sizes with grain bills under 12 lbs, this system handles most standard ales and lagers without complaint. The limitation shows up with bigger grain bills and hop-forward styles that benefit from a more vigorous boil. For those batches, the ceiling is real. But for a brewer in a home with existing 20A circuits who wants to move from extract brewing to all-grain without a major electrical project, this tier is the natural entry point.
The mid-tier is also where the value calculation is clearest: ingredient cost per batch drops relative to stovetop extract brewing, and the repeatability of digital temperature control — even at 1,650 watts — improves consistency across brew sessions in ways that matter for style development.
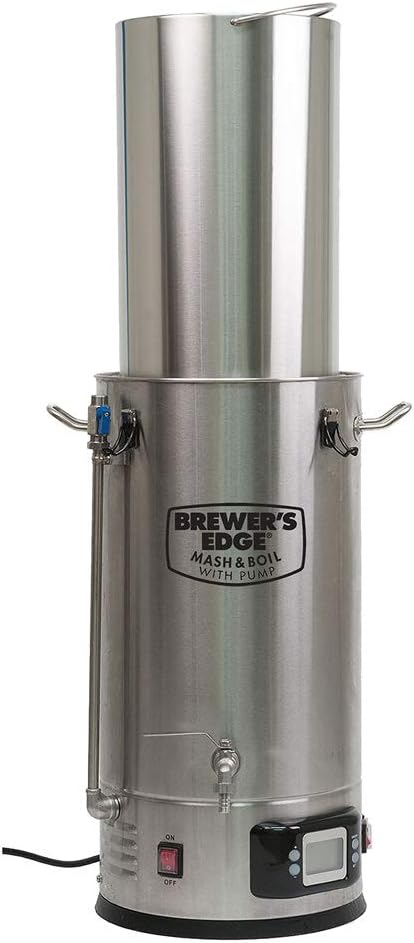
Brewer’s
$439.99
In stock on Amazon
Check price on AmazonPremium-Tier: 220V Systems for 10-Gallon Batches and Serious Grain Bills
The 220V systems are where the all-in-one category earns its reputation. Three systems dominate owner discussion and published documentation at this tier.
The Grainfather G40, spec’d at 2,800 watts on 220V per Grainfather’s published product specification sheet, is designed around a 40-liter (roughly 10.5-gallon) batch ceiling. Per that specification sheet, the 2,800W element allows a target 60-minute mash-to-boil transition across grain bills up to 10kg (22 lbs), which covers serious all-grain territory including double IPAs, imperial stouts, and high-gravity lagers. The G40’s dual-pump recirculation design handles thick, high-adjunct grain bills — oatmeal stouts, hazy IPAs with heavy flaked additions — better than single-pump competitors, and its insulated mash pipe reduces element cycling during long mashes by limiting heat loss.
The Anvil Foundry 10.5 gallon is rated at 1,650 watts standard, with a 240V upgrade element option taking it to 2,400 watts, per Anvil’s published product page and FAQ. This makes it one of the few systems that can be purchased at the lower power tier and upgraded later if you add a 220V circuit — a meaningful option for brewers who expect their infrastructure to evolve.
The Spike Brewing Solo is rated at 2,400 watts per Spike Brewing’s technical documentation, and its tri-clamp-compatible fittings distinguish it for brewers who want a system they can expand toward pilot-scale workflows — integrating pumps, glycol chillers, and fermentation control into a unified setup. Spike Brewing’s technical documentation describes the Solo’s fittings as compatible with standard tri-clamp accessories without adapters, which is a meaningful long-run consideration for system expansion.
All three require a dedicated 220V/240V circuit. In most homes, that means calling an electrician — an installation that typically runs $150–$400 depending on panel proximity and local labor rates.

Clawhammer
$1,499.00
In stock on Amazon
Check price on AmazonBatch Size Pairings: Matching the System to What You Actually Brew
Wattage and voltage don’t exist in a vacuum — they have to be sized to your batch volume.
5-gallon batches (the American homebrewing standard): This is the most forgiving size. A competent 110V system at 1,600–1,900 watts handles it if your grain bill stays under 12 lbs. For most standard ales and lagers, that’s plenty of room. The Anvil Foundry 6.5 gallon on a dedicated 20A circuit is the most-cited option in this tier based on published specifications and owner consensus.
10-gallon batches (the intermediate push): This is where 110V starts to show its ceiling. Bringing 12–13 gallons of water to boil temperature, accounting for evaporation, and handling a 20+ lb grain bill demands power that a 110V circuit physically cannot deliver at full efficiency. The Anvil Foundry 10.5 gallon, the Grainfather G40, and the Spike Solo all live in this tier — and all require 220V. This is also where the purchase math shifts. If you’re brewing 10-gallon batches, ingredient cost per batch drops significantly on a per-pint basis, and the one-time electrician cost amortizes quickly across brew sessions. As noted in “Homebrew Science: Understanding Electrical Load for Brewing” (Brew Your Own magazine, March 2024), planning your electrical infrastructure before purchasing equipment at this scale avoids the most common setup errors.
15+ gallon / pilot-scale batches: At this volume you’re looking at semi-commercial territory. Systems in the $2,000–$5,000 range from Ss Brewtech and Spike’s larger configurations enter the picture. Some require 50-amp service or dual-circuit setups. The American Homebrewers Association’s 2025 Equipment Guide recommends coordinating with a licensed electrician before purchasing equipment at this scale, not after — because the electrical and sanitation infrastructure decisions precede the equipment decision.
What Brewers Actually Report: Patterns Across Long-Run Use
A few consistent themes appear across owner documentation and long-run reviews of 220V all-in-one systems.
Recirculation pump quality separates the good from the great. In any all-in-one system, a pump circulates wort through the grain bed and heating element during the mash to maintain even temperature. The Grainfather G40’s dual-pump design handles thick, high-adjunct grain bills better than single-pump competitors per Grainfather’s published specification sheet. Spike Solo owners in long-run reviews praise the system’s straightforward single-pump design for ease of cleaning. Both are real-world priorities that spec sheets underweight.
The 220V cord and plug type matters more than buyers expect. The Anvil Foundry 10.5 gallon ships expecting you to wire your own plug — NEMA 6-30 is the most common configuration for 240V/30A brewing circuits per Anvil’s published FAQ. Getting the plug type wrong by one NEMA configuration is a common, fixable mistake, but it adds an unplanned trip to the hardware store on brew day if you didn’t verify with your electrician in advance.
Insulation is an underrated spec. The Grainfather G40’s insulated mash pipe — a sleeve that reduces heat loss during the mash — reduces element cycling, meaning the heating element kicks on less often to maintain temperature and power draw stays more stable. On a 90-minute lager mash, that adds up in both energy efficiency and temperature consistency, per Grainfather’s published product specification sheet.
The Decision Rule
If you care about brewing flexibility and batch quality above a certain threshold, the tradeoffs collapse into a fairly clean framework:
-
Rented space, apartment, or no 220V access: Choose a quality 110V system and cap your batch size at 5–6 gallons. The KegLand BrewZilla Gen 4 in 110V mode or the Anvil Foundry 6.5 gallon on a dedicated 20A circuit are the most-reviewed options in this tier based on published specifications. KegLand 110V — $241.99
-
Own your space, brewing 5-gallon batches today, expect to scale to 10 gallons within two years: Run the 220V line now. The electrician cost is the same whether you do it today or in 18 months, and you won’t be shopping for a second system. The Anvil Foundry 10.5 gallon is the value benchmark in this tier based on published specifications and owner consensus. Brewer’s — $439.99
-
Already brewing 10-gallon batches, or planning to: The Grainfather G40 and Spike Solo are the two systems with the most detailed long-run owner documentation at that volume. The G40’s dual-pump recirculation and insulated mash pipe give it an edge on unattended brew days; the Spike Solo’s tri-clamp fittings and build quality make it the easier system to extend toward pilot-scale workflows. Clawhammer — $1,499.00
-
Designing a nano-brewery pilot setup: Stop comparing consumer all-in-one systems and start with the American Homebrewers Association’s 2025 Equipment Guide and nano-brewery planning resources, then work backward to equipment. The electrical and sanitation infrastructure decisions come first.
Wattage and voltage are plumbing — unsexy, invisible, and completely foundational. Getting them right before you buy means every brew day runs on the system you planned, not the system you’re fighting.